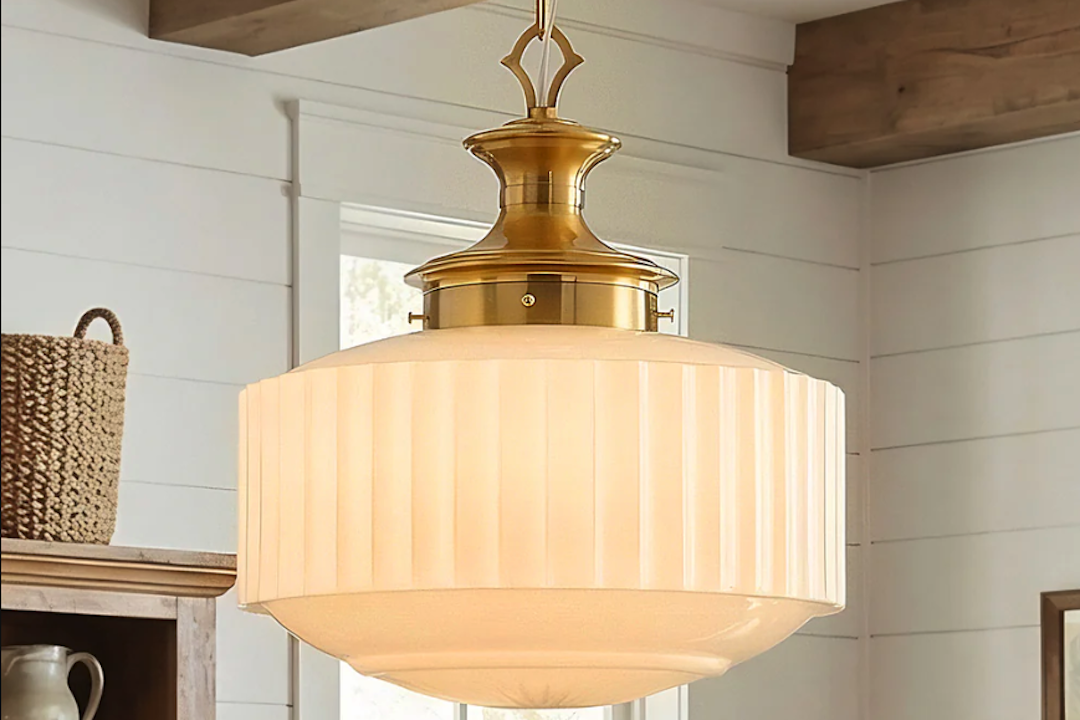
You’ve probably seen them – those classic, bell-shaped lights hanging in schoolhouses, libraries, or older diners. That’s likely a vintage milk glass schoolhouse pendant light. They’re popular for a reason: they offer a straightforward, elegant glow that fits a surprising number of modern spaces, and getting one doesn’t have to be complicated.
What Exactly is a Vintage Milk Glass Schoolhouse Pendant Light?
At its core, a vintage milk glass schoolhouse pendant light Zweedo is a light fixture designed with a bowl-shaped shade made of opaque, white glass, commonly known as milk glass. The term “schoolhouse” refers to its iconic design, which was widely adopted in educational institutions and other public buildings in the late 19th and early 20th centuries.
- The Shade: The defining feature is the milk glass shade. This material is fired with a white pigment, giving it a milky, translucent appearance. It diffuses light evenly, creating a soft, non-glaring illumination.
- The Fixture: Typically, these pendants hang from a central stem or chain, connected to a decorative canopy that attaches to the ceiling. The metal components (often brass, steel, or aluminum) can vary in style and finish, contributing to the overall aesthetic.
- The Era: While “vintage” can be a broad term, schoolhouse pendants are most commonly associated with the Art Deco and early to mid-20th century periods. However, their timeless design means similar styles are still produced today.
Why Are They Still So Popular? Practical Appeal and Versatility
The endurance of the schoolhouse pendant isn’t down to fleeting trends. It’s about its practical benefits and how well it adapts to different décors.
Functional Illumination
The primary purpose of any light fixture is to illuminate, and the schoolhouse pendant excels here.
- Even Light Distribution: The milk glass shade is designed to spread light in a uniform direction, minimizing shadows and creating a pleasant ambient light. This is crucial for tasks like reading, working, or simply creating a relaxed atmosphere.
- Reduced Glare: Unlike clear glass shades that can sometimes create a harsh glare, milk glass diffuses the light, making it softer on the eyes. This is a significant advantage in spaces where you spend a lot of time.
- Adaptable Brightness: The type of bulb you use will largely determine the brightness. You can opt for brighter bulbs for task-oriented areas or dimmer ones for a more subdued mood.
Timeless Aesthetic
The design itself is a major draw. It’s a classic for a reason.
- Uncluttered Design: The simple, rounded form of the shade is inherently pleasing and doesn’t compete for attention. It’s a statement piece that’s also understated.
- Retro Nod Without Being Over-the-Top: It brings a touch of history and character to a room without making it feel like a museum exhibit. This is appealing for those who want a vintage feel without committing to a full-blown period restoration.
- Fits Multiple Styles: While it originated in schools, its clean lines work surprisingly well in a variety of contemporary settings.
Where to Find Them: Navigating the Vintage Market
The thrill of finding a genuine vintage piece lies in the hunt. Luckily, there are several reliable avenues.
Online Marketplaces & Specialty Retailers
The internet has made vintage shopping more accessible than ever.
- Etsy: This platform is a treasure trove for vintage lighting. You’ll find individual sellers, antique dealers, and restoration specialists offering a wide range of schoolhouse pendants. Look for sellers with good reviews and detailed descriptions.
- eBay: Another vast marketplace where you can find both auctions and “buy it now” listings for vintage lights. Be prepared to sift through many items, but good deals are often available.
- Specialty Vintage Lighting Shops (Online): There are online stores dedicated specifically to restoring and selling vintage lighting fixtures. These often offer carefully curated selections, professional restoration, and a higher degree of certainty about the fixture’s condition and authenticity. Examples include places that specialize in architectural salvage or vintage home goods.
Architectural Salvage Yards & Antique Stores
For those who prefer an in-person experience, these locations can be rewarding.
- Architectural Salvage Yards: These places are specifically for deconstructing old buildings and selling off usable elements. You might find original schoolhouse pendants directly from old institutions. It’s best to call ahead and inquire about their lighting inventory.
- Antique Stores: While not all antique stores will have lighting, some dedicated dealers or larger establishments might carry them. The advantage here is you can inspect the item firsthand.
Considerations When Buying Vintage
It’s not just about finding the right look; it’s about ensuring the fixture is safe and functional.
- Condition of Fixture:
- Wiring: This is paramount. Vintage wiring can be brittle and unsafe. A reputable seller should disclose if the wiring has been updated or if it needs to be rewired. If it hasn’t been, factor in the cost of professional rewiring.
- Metal Components: Check for rust, corrosion, or significant damage to the stem, canopy, or any decorative elements.
- Shade Integrity: Look for chips, cracks, or significant discoloration in the milk glass shade. Small imperfections can add character, but significant damage will affect its appearance and structural integrity.
- Originality vs. Restoration: Some sellers offer “original” items, meaning they are as found (potentially needing work). Others offer “restored” items, where wiring has been updated, metal polished, etc. Understand what you’re buying.
- Seller Reputation: For online purchases, always check reviews and seller history. For in-person buys, gauge the expertise of the seller.
Installation: Bringing Your Pendant to Life Safely
Installing a light fixture, especially a vintage one, is a job that requires attention to detail and safety. If you’re not comfortable with electrical work, it’s always best to hire a qualified electrician.
Pre-Installation Checks
Before you even think about climbing a ladder, there are crucial steps to take.
- Turn Off Power: This cannot be stressed enough. Locate the circuit breaker that controls the light fixture and turn it OFF. Double-check by trying to turn on the existing light (if any) in the space.
- Gather Tools and Materials: You’ll likely need a screwdriver set, wire strippers, wire connectors (appropriate for the gauge of wire), a ladder, and potentially electrical tape.
- Inspect the Fixture: If you haven’t already, give the pendant a final once-over. Ensure all parts are present and secure. If it needs rewiring, do this before installation.
The Installation Process (General Steps)
This is a simplified overview. Always consult the specific instructions for your fixture and consider seeking professional help if unsure.
- Mount the Canopy: Your pendant will come with a mounting bracket and a canopy (the decorative piece that covers the junction box). Attach the mounting bracket securely to the junction box in the ceiling. Then, thread the fixture’s wires through the bracket.
- Wire the Fixture: This is the critical electrical step.
- Connect the ground wire (usually green or bare copper) from the fixture to the ground wire in the junction box.
- Connect the neutral wire (usually white) from the fixture to the neutral wire in the junction box.
- Connect the hot wire (usually black) from the fixture to the hot wire in the junction box.
- Use wire connectors (wire nuts) for secure connections and ensure they are properly tightened.
- Secure the Fixture: Once wired, carefully push the wires up into the junction box and attach the fixture canopy to the mounting bracket. Ensure it’s flush against the ceiling.
- Install the Bulb: Screw in the appropriate light bulb.
- Restore Power and Test: Turn the circuit breaker back ON. Test the light switch to ensure the fixture works correctly.
When to Call a Professional Electrician
- Unsafe Existing Wiring: If the wiring in your ceiling looks old, frayed, or damaged, do not proceed without an electrician.
- No Junction Box: If there isn’t a proper junction box installed in the ceiling for the fixture, an electrician will need to install one.
- Unfamiliarity with Electrical Codes: Electrical codes exist for safety. An electrician is up-to-date on these.
- Complex Fixtures: While schoolhouse pendants are generally straightforward, if your particular fixture has any unusual wiring or features, consult a pro.
- Simply Wanting Peace of Mind: For many, the cost of an electrician is well worth the assurance of a safely installed fixture.
Modernizing Your Schoolhouse Pendant: Enhancing the Glow
While the vintage charm is the main appeal, there are ways to subtly update your schoolhouse pendant to better suit a modern home without losing its character.
Bulb Choices: Beyond the Incandescent
The type of bulb you choose can drastically change the light’s quality and your energy consumption.
- LED Equivalents: Many vintage fixtures can now accommodate LED bulbs that mimic the warm glow of incandescent bulbs but are far more energy-efficient and last much longer. Look for “Edison-style” or “vintage filament” LEDs that have a warm color temperature (around 2700K).
- Smart Bulbs: For added convenience, you can even use smart LED bulbs that allow you to control brightness, color temperature, and even turn the light on/off remotely via an app or voice assistant.
- Wattage Considerations: Always check the fixture’s maximum wattage rating to avoid overheating or damaging the socket.
Cleaning and Maintenance: Keeping the Charm Bright
Proper care will keep your milk glass pendant looking its best for years to come.
- Dusting: Regular dusting is essential. Use a soft, dry cloth or a lamb’s wool duster to gently remove dust from the shade and metal components.
- Cleaning the Milk Glass:
- Mild Soap and Water: For most cleaning, a soft cloth dampened with a solution of mild dish soap and water is sufficient. Gently wipe down the shade.
- Avoid Harsh Chemicals: Never use abrasive cleaners, scouring pads, or harsh chemical solvents on milk glass. These can scratch the surface or damage the finish.
- Rinsing and Drying: Rinse the shade thoroughly with a clean, damp cloth to remove soap residue. Dry it completely with a soft, lint-free cloth to prevent water spots.
- Cleaning Metal Components:
- Polishing: Depending on the metal (brass, steel, etc.), you may be able to polish it. Use a metal polish specifically designed for that material, following the product’s instructions carefully. Test in an inconspicuous area first.
- Avoid Patina Removal (If Desired): Some people prefer the aged patina on vintage metal. If this is the case, gentle dusting is all that’s needed. Aggressive polishing will remove this character.
Re-Wiring: A Necessary Upgrade for Safety and Longevity
As mentioned, if your vintage pendant has original wiring, it’s a safety concern.
- Professional Rewiring: The safest and most recommended option is to have a qualified electrician rewire the fixture. They will use modern, safe wiring and ensure all connections are up to current electrical standards.
- DIY Rewiring (with extreme caution): If you have a strong understanding of electrical systems and are confident in your abilities, you can attempt to rewire yourself. However, this carries significant risks. You’ll need to source appropriate wiring, sockets, and connectors. It’s a good idea to watch multiple tutorials and understand the process thoroughly before starting.
Beyond the Schoolhouse: Other Vintage Milk Glass Light Styles
While the schoolhouse pendant is a well-known icon, milk glass was used in many other lighting designs, offering even more vintage charm.
Other Pendant and Fixture Types
The material’s versatility meant it found its way into various lighting applications.
- Bell-Shaped Shades (General): Beyond the “schoolhouse” designation, many similar bell-shaped milk glass pendants were produced for residential use, often with decorative metal accents.
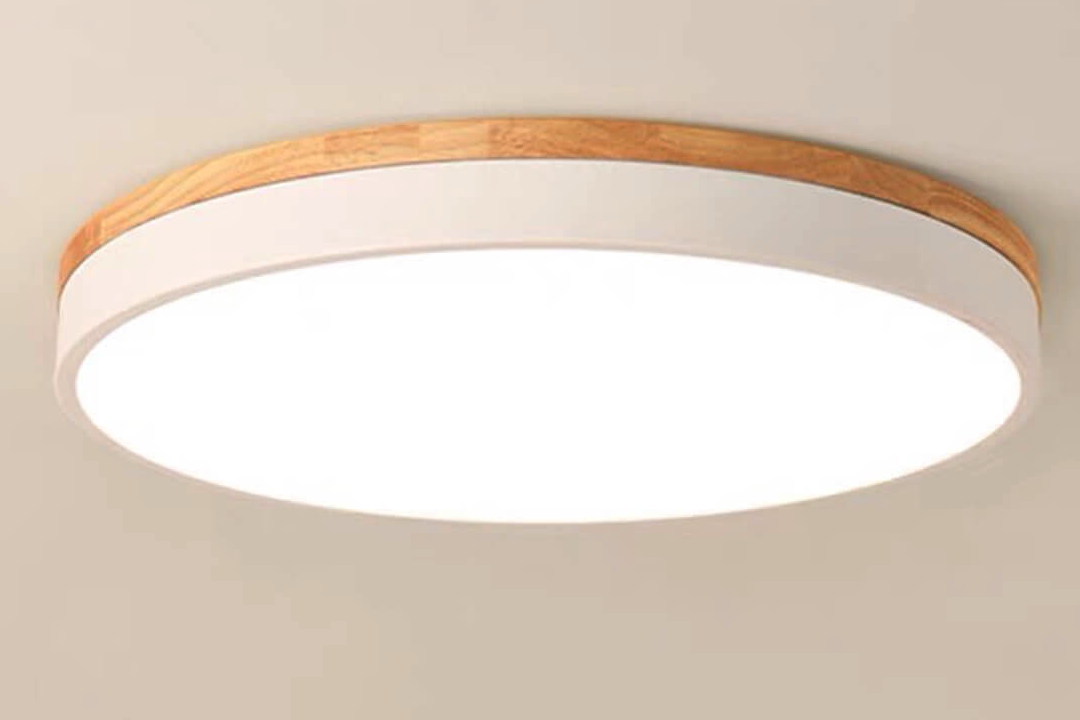
- Flush Mount Lights: Milk glass was frequently used for ceiling-mounted fixtures, providing diffused light without hanging down too far. These are excellent for lower ceilings.
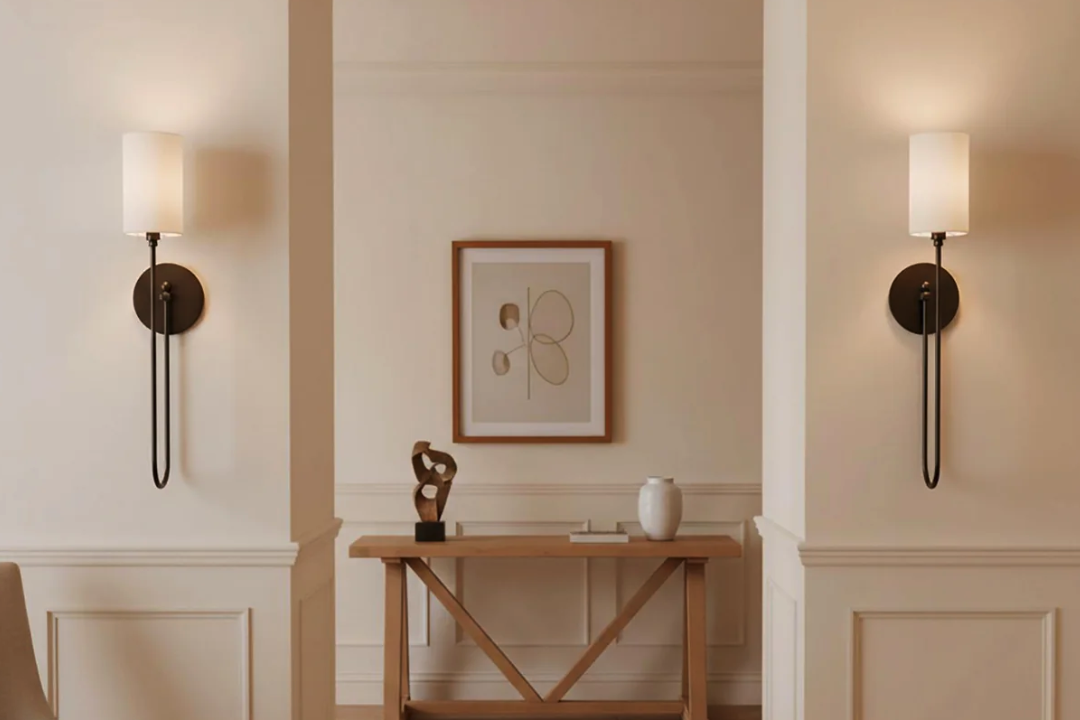
- Hallway and Sconce Lights: Smaller milk glass shades were common for hallways, bathrooms, and as accent lighting on walls.
- Caged Fixtures: Sometimes, milk glass shades were protected by decorative metal cages, adding an industrial or utilitarian feel.
Identifying and Appreciating Different Milk Glass Patterns
Milk glass isn’t always plain white. It can have subtle textures and patterns that add to its appeal.
- Hobnail: A very popular pattern featuring raised, rounded bumps, resembling hobnails.
- Paneled: Shades with distinct sections or panels, often with a frosted or textured finish within each panel.
- Etched or Frosted Designs: Some milk glass has delicate etched or frosted patterns applied for a more decorative touch.
- Iridescent Finishes: Certain milk glass pieces from specific eras might have a subtle iridescent sheen, particularly on the edges.
By understanding these variations, you can begin to appreciate the nuances of vintage milk glass and perhaps discover a new favorite style beyond the classic schoolhouse. The enduring appeal of these lights lies in their blend of practical functionality and timeless aesthetic, making them a solid choice for adding warmth and character to any space.